2.1 KiB
User Guide
After the plugin is installed, create a new OpenStack environment.
Open the Settings tab of the Fuel web UI and then select the OpenStack Services menu. Select "Trove Setting" checkbox.

Go to the Nodes tab and here push Add Nodes button

Note that now Trove role is available in the roles list.
Add nodes to the environment with RabbitMQ role assigned to some of them. On the screenshot below you may see environment with 1 CONTROLLER, 1 (COMPUTE + CINDER) and 1 TROVE node. You can assign Trove role to more than one node.
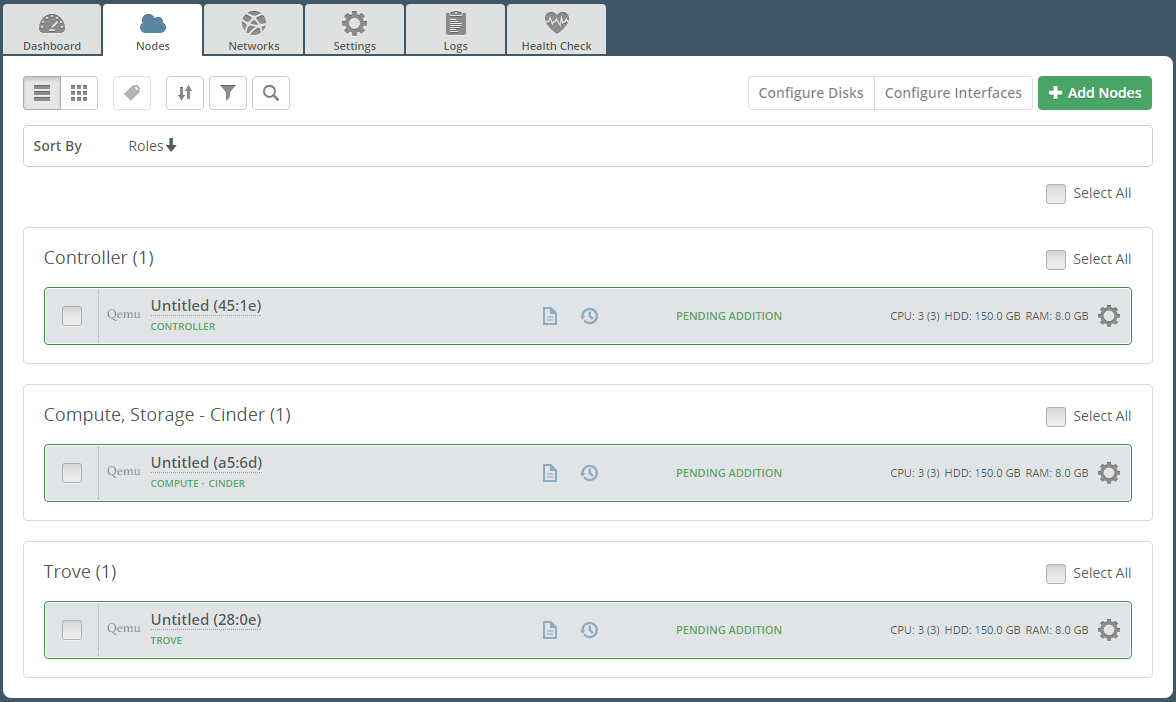
Finish configuring your environment.
-

How it works
With the plugin enabled, Fuel deploys RabbitMQ and Trove Services on Trove nodes and here RabbitMQ is also managed by Pacemaker. Also note that two separate Pacemaker clusters are running on the Controller and Trove nodes and they are not aware of each other.
- The Trove service logs could be found at :
-
- on Trove node in /var/log/trove directory
- When the plugin is enabled, RabbitMQ log could be found in its regular place:
-
- on Trove node in /var/log/rabbitmq directory
- on master node in /var/log/remote/<node-name>/rabbitmq-*.log files
- The same applies to log of Pacemaker which manages RabbitMQ. Its location is:
-
- on Trove node /var/log/pacemaker.log
- on master node in the following files:
- /var/log/remote/<node-name>/attrd.log
- /var/log/remote/<node-name>/crmd.log
- /var/log/remote/<node-name>/cib.log
- /var/log/remote/<node-name>/lrmd.log
- /var/log/remote/<node-name>/pengine.log