1.6 KiB
1.6 KiB
Configure the plugin
Once installed, configure the Kafka Plugin and add nodes with the Kafka role to a new or existing Mirantis OpenStack environment.
To configure the plugin:
Log in to the Fuel web UI.
Verify that the Kafka Plugin is listed in the
Pluginstab: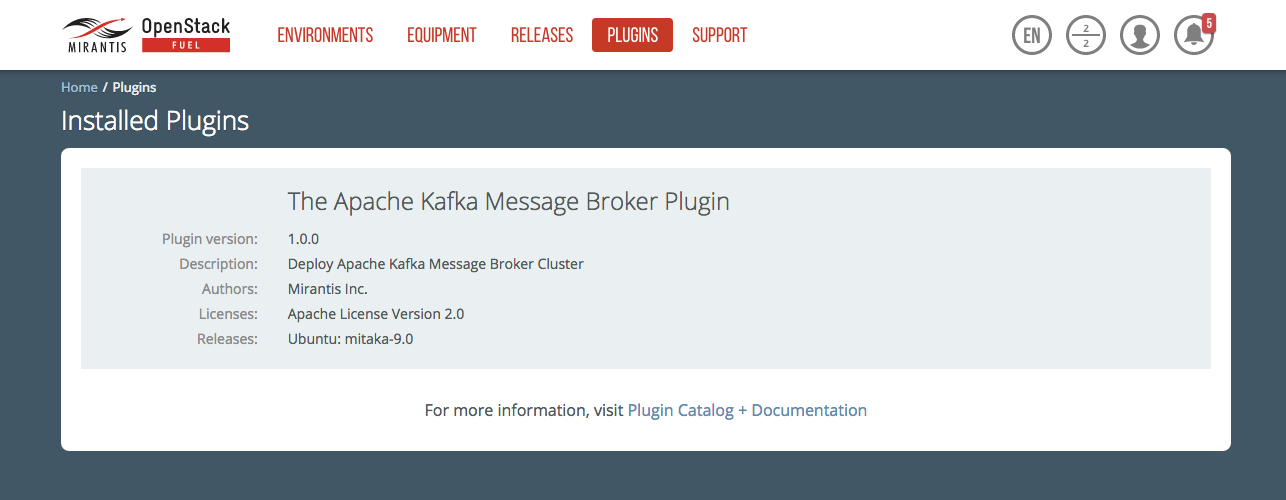
Create a new environment or use an existing one.
To enable the plugin and configure additional settings, navigate to the
Environmentstab and select theThe Apache Kafka Message Broker Plugincheckbox: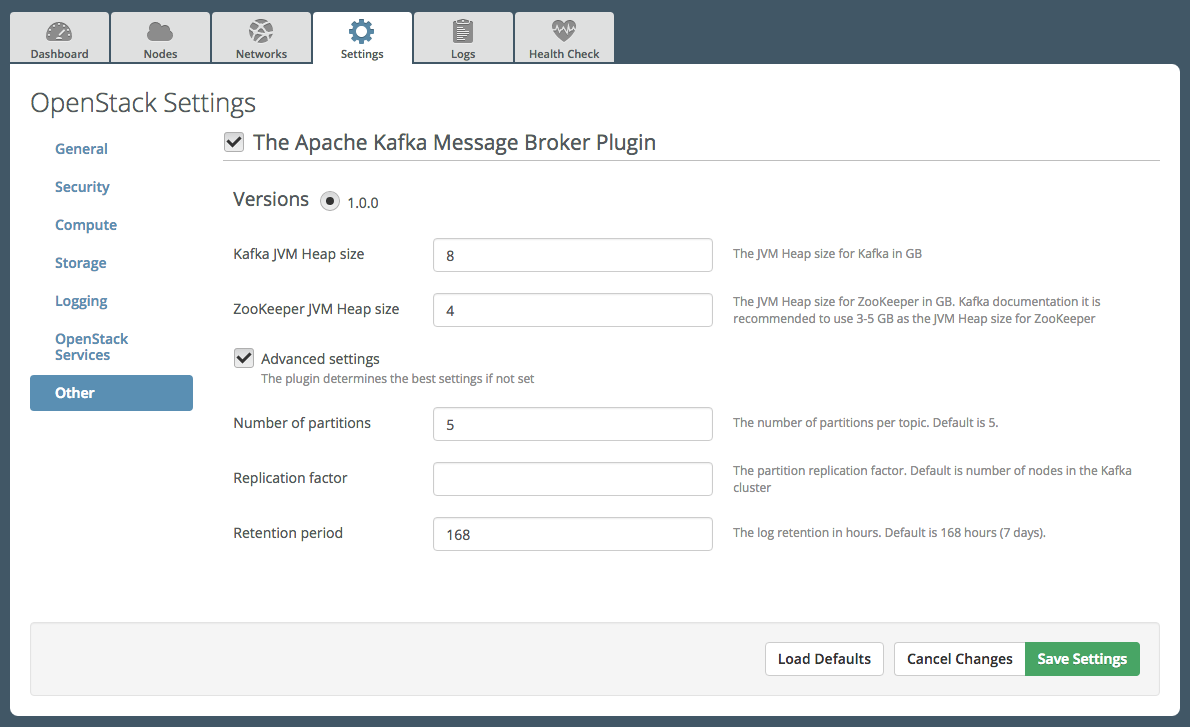
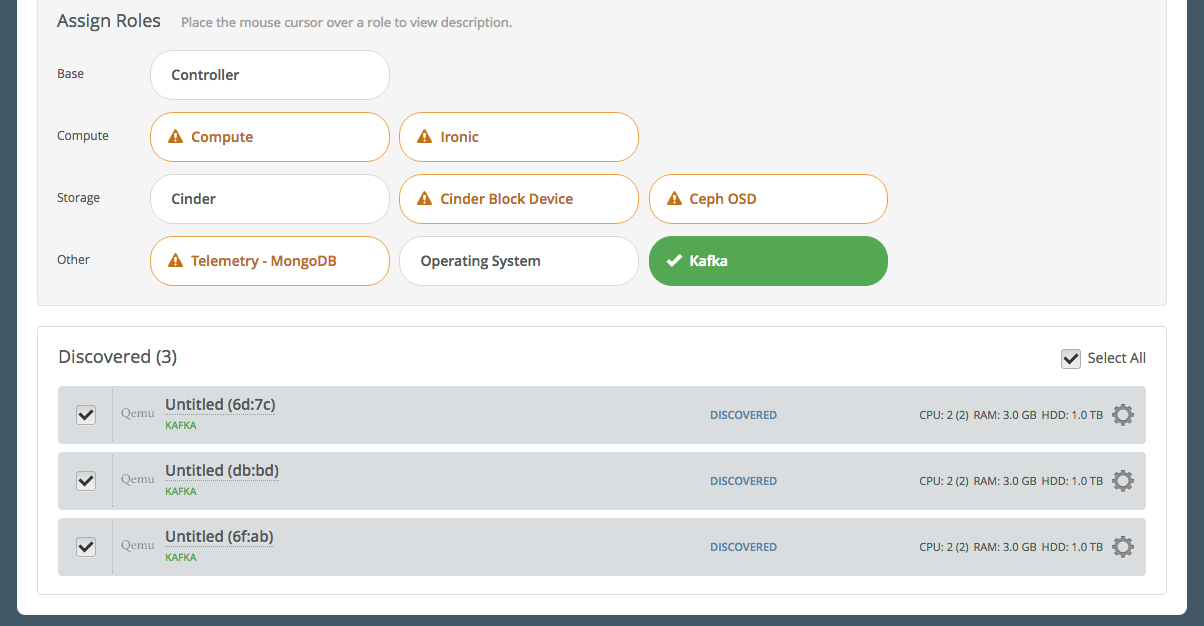
Add nodes to your environment and assign the Kafka role to these nodes.
Note
When adding nodes to the environment and assigning or changing a role, do not forget to use an odd number of nodes as recommended in the
requirementssection.