8.9 KiB
Networking Option 1: Provider networks
Install and configure the Networking components on the controller node.
Prerequisites
Before you configure networking option 1, you must configure kernel parameters to disable reverse-path filtering.
Edit the
/etc/sysctl.conffile to contain the following parameters:net.ipv4.conf.all.rp_filter=0 net.ipv4.conf.default.rp_filter=0Implement the changes:
# sysctl -p
Install the components
ubuntu
# apt-get install neutron-server neutron-plugin-ml2 \
  neutron-plugin-linuxbridge-agent neutron-dhcp-agent \
  neutron-metadata-agent python-neutronclient
rdo
# yum install openstack-neutron openstack-neutron-ml2 \
  openstack-neutron-linuxbridge python-neutronclient
obs
# zypper install --no-recommends openstack-neutron \
  openstack-neutron-server openstack-neutron-linuxbridge-agent \
  openstack-neutron-dhcp-agent openstack-neutron-metadata-agent \
  ipset
debian
Install and configure the networking components
# apt-get install neutron-server neutron-plugin-linuxbridge-agent \
  neutron-dhcp-agent neutron-metadata-agent
For networking option 2, also install the
neutron-l3-agentpackage.Respond to prompts for database management, Identity service credentials, service endpoint registration, and message queue credentials.
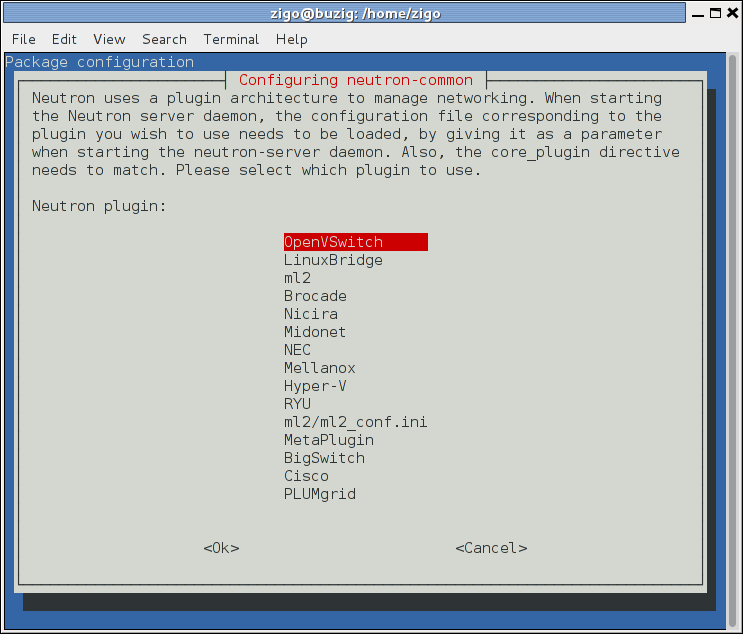
Select the ML2 plug-in:
Note
Selecting the ML2 plug-in also populates the
service_pluginsandallow_overlapping_ipsoptions in the/etc/neutron/neutron.conffile with the appropriate values.
ubuntu or rdo or obs
Configure the server component
The Networking server component configuration includes the database, authentication mechanism, message queue, topology change notifications, and plug-in.
- Edit the
/etc/neutron/neutron.conffile and complete the following actions:In the
[database]section, configure database access:[database] ... connection = mysql+pymysql://neutron:NEUTRON_DBPASS@controller/neutronReplace
NEUTRON_DBPASSwith the password you chose for the database.In the
[DEFAULT]section, enable the Modular Layer 2 (ML2) plug-in and disable additional plug-ins:[DEFAULT] ... core_plugin = ml2 service_plugins =In the
[DEFAULT]and[oslo_messaging_rabbit]sections, configure RabbitMQ message queue access:[DEFAULT] ... rpc_backend = rabbit [oslo_messaging_rabbit] ... rabbit_host = controller rabbit_userid = openstack rabbit_password = RABBIT_PASSReplace
RABBIT_PASSwith the password you chose for theopenstackaccount in RabbitMQ.In the
[DEFAULT]and[keystone_authtoken]sections, configure Identity service access:[DEFAULT] ... auth_strategy = keystone [keystone_authtoken] ... auth_uri = http://controller:5000 auth_url = http://controller:35357 auth_plugin = password project_domain_id = default user_domain_id = default project_name = service username = neutron password = NEUTRON_PASSReplace
NEUTRON_PASSwith the password you chose for theneutronuser in the Identity service.Note
Comment out or remove any other options in the
[keystone_authtoken]section.In the
[DEFAULT]and[nova]sections, configure Networking to notify Compute of network topology changes:[DEFAULT] ... notify_nova_on_port_status_changes = True notify_nova_on_port_data_changes = True nova_url = http://controller:8774/v2 [nova] ... auth_url = http://controller:35357 auth_plugin = password project_domain_id = default user_domain_id = default region_name = RegionOne project_name = service username = nova password = NOVA_PASSReplace
NOVA_PASSwith the password you chose for thenovauser in the Identity service.(Optional) To assist with troubleshooting, enable verbose logging in the
[DEFAULT]section:[DEFAULT] ... verbose = True
Configure the Modular Layer 2 (ML2) plug-in
The ML2 plug-in uses the Linux bridge mechanism to build layer-2 (bridging and switching) virtual networking infrastructure for instances.
- Edit the
/etc/neutron/plugins/ml2/ml2_conf.inifile and complete the following actions:In the
[ml2]section, enable flat and VLAN networks:[ml2] ... type_drivers = flat,vlanIn the
[ml2]section, disable project (private) networks:[ml2] ... tenant_network_types =In the
[ml2]section, enable the Linux bridge mechanism:[ml2] ... mechanism_drivers = linuxbridgeWarning
After you configure the ML2 plug-in, removing values in the
type_driversoption can lead to database inconsistency.In the
[ml2]section, enable the port security extension driver:[ml2] ... extension_drivers = port_securityIn the
[ml2_type_flat]section, configure the public flat provider network:[ml2_type_flat] ... flat_networks = public
Configure the Linux bridge agent
The Linux bridge agent builds layer-2 (bridging and switching) virtual networking infrastructure for instances including VXLAN tunnels for private networks and handles security groups.
- Edit the
/etc/neutron/plugins/ml2/linuxbridge_agent.inifile and complete the following actions:In the
[linux_bridge]section, map the public virtual network to the public physical network interface:[linux_bridge] physical_interface_mappings = public:PUBLIC_INTERFACE_NAMEReplace
PUBLIC_INTERFACE_NAMEwith the name of the underlying physical public network interface.In the
[vxlan]section, disable VXLAN overlay networks:[vxlan] enable_vxlan = FalseIn the
[agent]section, enable ARP spoofing protection:[agent] ... prevent_arp_spoofing = TrueIn the
[securitygroup]section, enable security groups, enableipset, and configure the Linux bridgeiptablesfirewall driver:[securitygroup] ... enable_security_group = True enable_ipset = True firewall_driver = neutron.agent.linux.iptables_firewall.IptablesFirewallDriver
Configure the DHCP agent
The DHCP agent
provides DHCP services for virtual networks.
- Edit the
/etc/neutron/dhcp_agent.inifile and complete the following actions:In the
[DEFAULT]section, configure the Linux bridge interface driver, Dnsmasq DHCP driver, and enable isolated metadata so instances on public networks can access metadata over the network:[DEFAULT] ... interface_driver = neutron.agent.linux.interface.BridgeInterfaceDriver dhcp_driver = neutron.agent.linux.dhcp.Dnsmasq enable_isolated_metadata = True(Optional) To assist with troubleshooting, enable verbose logging in the
[DEFAULT]section:[DEFAULT] ... verbose = True
Return to Networking controller node configuration
<neutron-controller-metadata-agent>.