5.9 KiB
User Guide
Configuring FWaaS service
Once OpenStack has been deployed, we can start configuring FWaaS.
This section provides an example of configuration and step-by-step instructions for configuring the plugin.
Here is an example task. We will have the following network architecture in our Project:

Before we start, we need to be remember that every Project in OpenStack is assigned the default security group for the cluster in its default form, which is usually restrictive. So you’ll probably need to create a few additional rules in each Project’s default security group: like a general ICMP rule, enabling pings, and a port 22 TCP rule, enabling SSH an example task:

Let's get started with the testing of connectivity between our VMs (using ping). So, for the current state situation is the following (see the network topology above):

Let's create Firewall
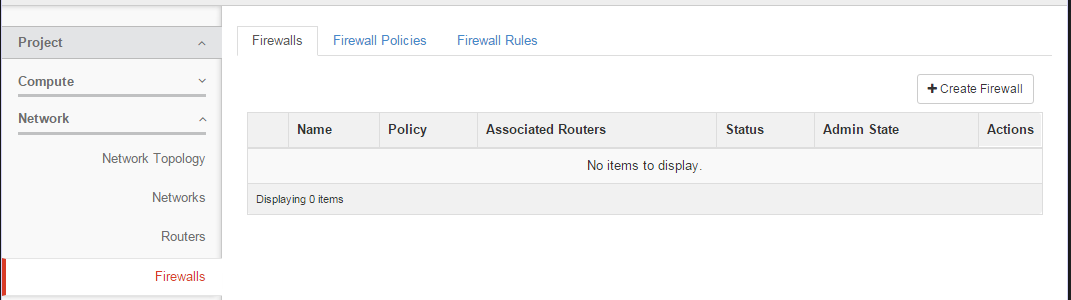
Open Network menu in the left-hand menu and select Firewalls option.
Create Policy
Enter Firewall Policies tab and click Add Policy button.

In this window, we should fill in policy name and description of this policy in the Name and Description fields. Also, here we can set Shared and Audited flags:
- Shared - allow to share your policy with all other Projects.
- Audited - indicate whether the particular firewall policy was audited or not by the creator of the firewall policy.
And click Add button to finish.

Create Firewall
Enter Firewalls tab and click Create Firewall button.

In Add Firewall tab we should fill in Name, Description fields and choose our policy that was created in previous step. * Shared - allow to share your Firewall with all other Projects. * Admin State - option provide an ability to set UP or DOWN the Firewall.

NOTE: The firewall remains in PENDING_CREATE state until you create a Networking router and attach an interface to it.
In Routers tab we should choose routers from the available routers on which we want to enable our Firewall. Let's apply it only for router r1.

Let’s test connectivity between our VMs with new Firewall which we applied on the router r1

WARNING: Firewall always adds a default rule to deny all at the lowest precedence of each policy. Consequently, a firewall policy with no rules blocks all traffic by default.
Since we applied our Firewall only for the router r1 we can that r1 blocks all traffic and router r2 works as before. For the adding and removing routers to the Firewall we should click drop-down button near the Edit Firewall button and select Add/Remove Router:

Create Rule
For the allowing ICMP traffic we need to create a new rule. Enter Firewall Rules tab and press Add Rule button:

Here, as usual we should fill in Name and Description fields. And specify the type of traffic, a couple of flags and action for it:
- Protocol - type of protocol (ICMP, TCP, UDP or ANY).
- Source( Destination) IP Address/Subnet - It might be single IP 172.18.161.10 or CIDR like 172.18.161.0/24
- Source(Destination) Port / Port Range - It might be a single Port 80 or range like 100:200.
- Action - what to do (ALLOW or DENY) with this type traffic.
- Shared - allow to share your rule with all other Projects.
- Enable - provide an ability to turn ON or OFF this rule.

Add Rule to the Policy
Add the created rule into our policy:
Enter Firewall Policies.
In column for our policy, click drop-down button and select Insert Rule.

In Insert Rule to Policy window, we can choose the necessary rule and specify the order of applying the rules. It's important that the rules are setup in proper order. The first rule that matches the type of traffic will be used.

And let’s test connectivity again

The situation is the same that we have without a Firewall, but only for the ICMP traffic while for the other types of packets it remained the same as at the beginning.